Project Grow Our Own Food: Raised Garden Bed Reveal
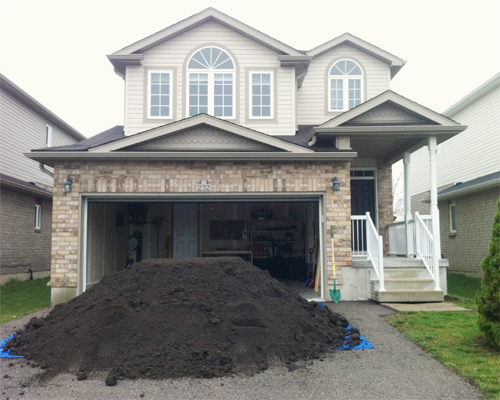
It took 2 wheelbarrows, 5 people, and 4 hours to move 7 yards of top soil from our driveway to the raised garden bed in our backyard….

As much as I would love to take credit for this beautiful garden, ‘J’ was definitely the project manager for this large undertaking. From doing the engineered drawings to ordering all the materials, ‘J’ spent a lot of his spare time getting this garden ready over the past month.
How Much Did it Cost?
I am going to be honest – this garden was not exactly cheap. We estimate we spent close to $500 on all the materials + all the time a labour we put into it. But, it’s a small price to pay in order to get the freshest, healthiest vegetables possible. Nothing excites me more than the idea of being able to walk out to the backyard when I need a pepper, or tomato, or some fresh herbs!

Next Steps + An “Oopsie”
With the structure built and filled, we still need to plant our seedlings, which you might remember we started back in April. After a little mishap earlier this month (exposing the plants to direct sunlight for too long – oopsie), we lost a lot of the seeds we started germinating, so Saturday morning ‘J’ and I also headed to a local, organic seedling sale to purchase some plants that didn’t germinate… peppers, cherry tomatoes, broccoli, cauliflower, dill, chives, cilantro, parsley, and Asian lettuces – just to name a few.
Now that we have almost everything we need, I can’t wait to get these things planted & growing!
You Might Also Like The Garden Posts!
- Project Grow Our Own Food: How to Build a U-Shaped Raised Garden Bed Plan
- Project Grow Our Own Food: Building Raised Garden Beds
- Project Grow Our Own Food: All Planted
- Project Grow Our Own Food: My Experience
I'd really like to do this design for my own garden. What are the dimensions?
Casey, use your own design. It all depends on your yard, how big it is, and if there is any trees you must consider. Make it your own!!
As far as filling it with good dirt, put in a lot of junk for fill. It cuts down on all the dirt you have to use. No one will ever see it. Ha Ha Ha.
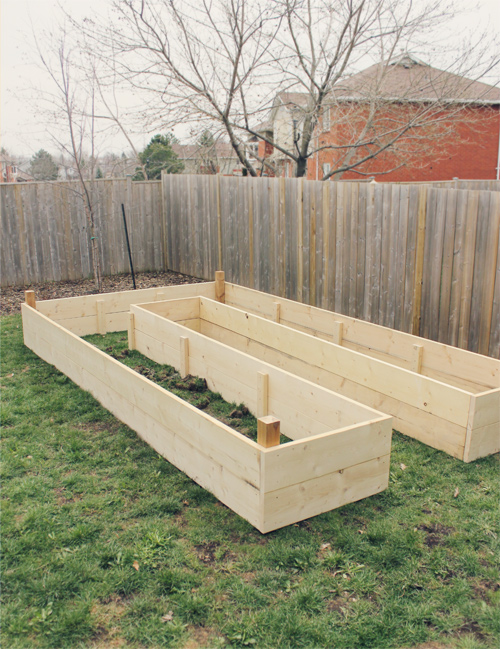
Thanks for your interest Casey! The long sides are 15ft long and a little over 3ft wide. The wide connector piece at the back is 8ft wide. The sides are 24 inches tall. Hope that helps!
The raised beds look wonderful. What kind of wood did you use?
You need cross braces every 6 ft. Or less. Hydraulics over time will push the centers out.
Greg, I have not made one of this but highly considering. Since it will be in ur backyard, any wood could be used but however, the pressure treated would be more expensive but if your planning on years of use from it the consideration of the pressure treated would tolerate the weather a lot better then those species that aren’t. Just food for thought.
I would not use treated wood on any bed that will be used for growing food. Big no-no for organic gardening. The chemicals that are used to treat the wood will leach into your food, essentially depositing poisons into your “fresh” food. Cedarwood will last between 10-20 years, depending on your location. Pine will get you 2-5.
I love the raised bed for gardening! I need this at home♡♡♡ I really,really,really like it!!!
Thank you so much Donna! I highly suggest raised garden beds if you have the space! 🙂
Are those lights on the corners? If so, why? I’d think they attract moths and other insects, which will feed on your vegetation. Otherwise, it looks great.
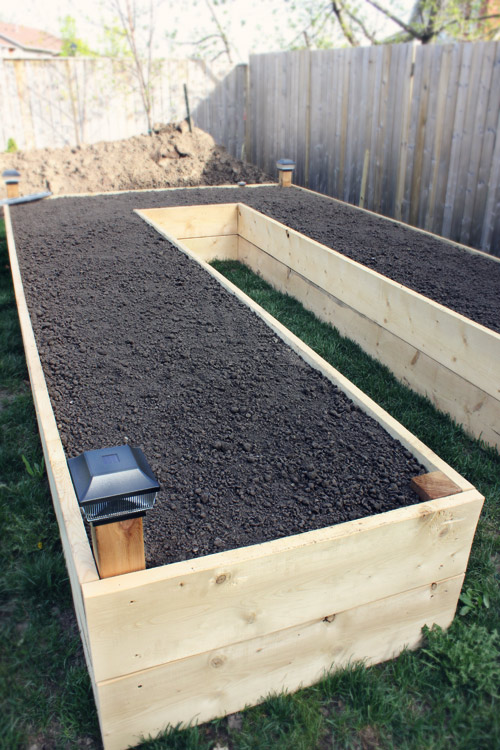
Hi Terry, thanks for your comments! The lights are purely decorative! They are solar powered and only light up at night. In terms of moths and insects, we’ve never really had any problems with them in this garden. I see earwigs in our lettuce once and a while, but that’s about it! 🙂
My husband built two of these for me several years ago. They work great. I would suggest that besides top soil that you add significant amount of peat moss to lighten up the soil and prevent it from drying out so fast. Also, lots of manure or organic fertilizer or green crop in the off season to enrich the soil. Straight top soil gets very dense and the crops are much more bountiful with the soil additives.
Thanks so much for the tips Judy! We’ve been using a mixture of rabbit manure and spent mushroom substrate in the garden, we also have a strict watering schedule in the summer months so nothing dries out!
Hi Britt! Just saw this post. 04/22/19. I just showed this to my husband and he agrees that this is a great idea. Thanks so much for sharing!
Wonderful idea! What type of wood did you use? Thanks!
Hi Robbie, the sideboards are pine and the posts are cedar. You can see how we built the garden bed here: http://bit.ly/2prwANi
Is the wood treated? I heard you cannot use treated wood if you are planting food
Hi Annette, we decided to use untreated pine vs. a treated lumber because of a number of chemicals associated with the treatment process. We didn’t want these chemicals leaching into the soil and contaminating our vegetables. This is also the reason why we opted not to line the garden with a plastic liner – I was unable to source a food-grade/safe plastic that was cost effective and large enough.
What thickened are your boards? They look like 1x material. Another option would be to use cedar boards. They would last much longer.
Oops, I meant “thickness” in my last comment.
Hi Doug, the boards are standard 2×16’s. Yes if you are looking for boards that will last much longer than pine, cedar is the better option! 🙂
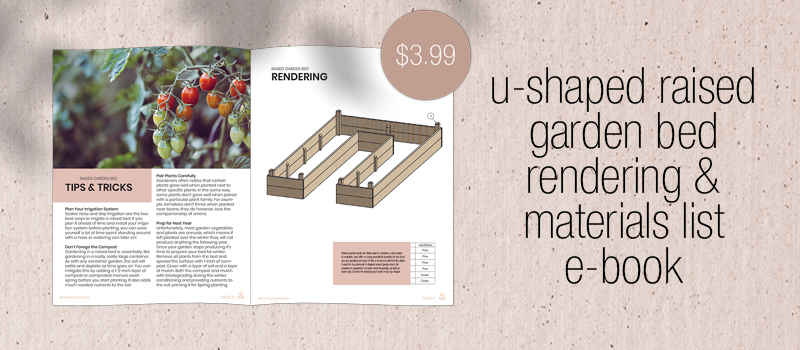
Is there any way you can post the plans so I can print them out (dimensions and materials used). This is what I asked for as my gift for mothers day and my husband and kids have agreed but they need directions to follow. Thanks!
I would like to have the plans or material list. Thanks Tony
How much space do you have in the middle? About 2 feet? Have you found that to be a good spacing?
Hi Katie! The middle is almost 2.5 ft… it’s just enough that we can still fit the lawnmower in there. I’ve found it to be plenty of space for both standing and kneeling. Hope that helps!
I am in the middle of planning a garden and I noticed you left the grass at the bottom of your beds? Does that impact your vegetables at all? My husband wanted to clear out the grass before building and filling the beds with soil. Thoughts?
Hi Natalie! We opted not to remove the grass from the bottom of the beds or line the bed with plastic/a barrier as the layer of topsoil is so thick (20 inches thick) that the grass and weeds underneath would be killed anyway. Weeds, however, will make their way into any bed no matter how high – the seeds are more often than not carried in by the wind or birds. We made sure to stay on top of the weeds (weeding every other day), which made for minimal work and a large harvest. Best of luck with your new garden! 🙂
Britt, I’m planning on building a garden bed this spring and wondered how yours has held up over the years given that it looks like you used pine and not cedar. Did you have to replace any of the wood? For around $500 I really want this to last a long time. It seems like its been a few years since you wrote this.
Also I found this site that can tell me exactly how much soil is needed and I wanted to share it in case others could benefit from it.
https://www.soilcalculator.com
Where do you live I want Raise garden I live Holly Springs Mississippi